Baked MacBook Air: A cautionary recipe
Putting a £1,000 Macbook Air in the oven might not be the first port of call after your trusty laptop fails to power on; I however, was feeling lucky that day. TL;DR: Cranking the temperature up higher than the recipe suggests is a bad idea, unless your goal is to simultaneously desolder most components from the motherboard. Here’s a timeline of events:
Day 1: The MacBook’s sudden coma
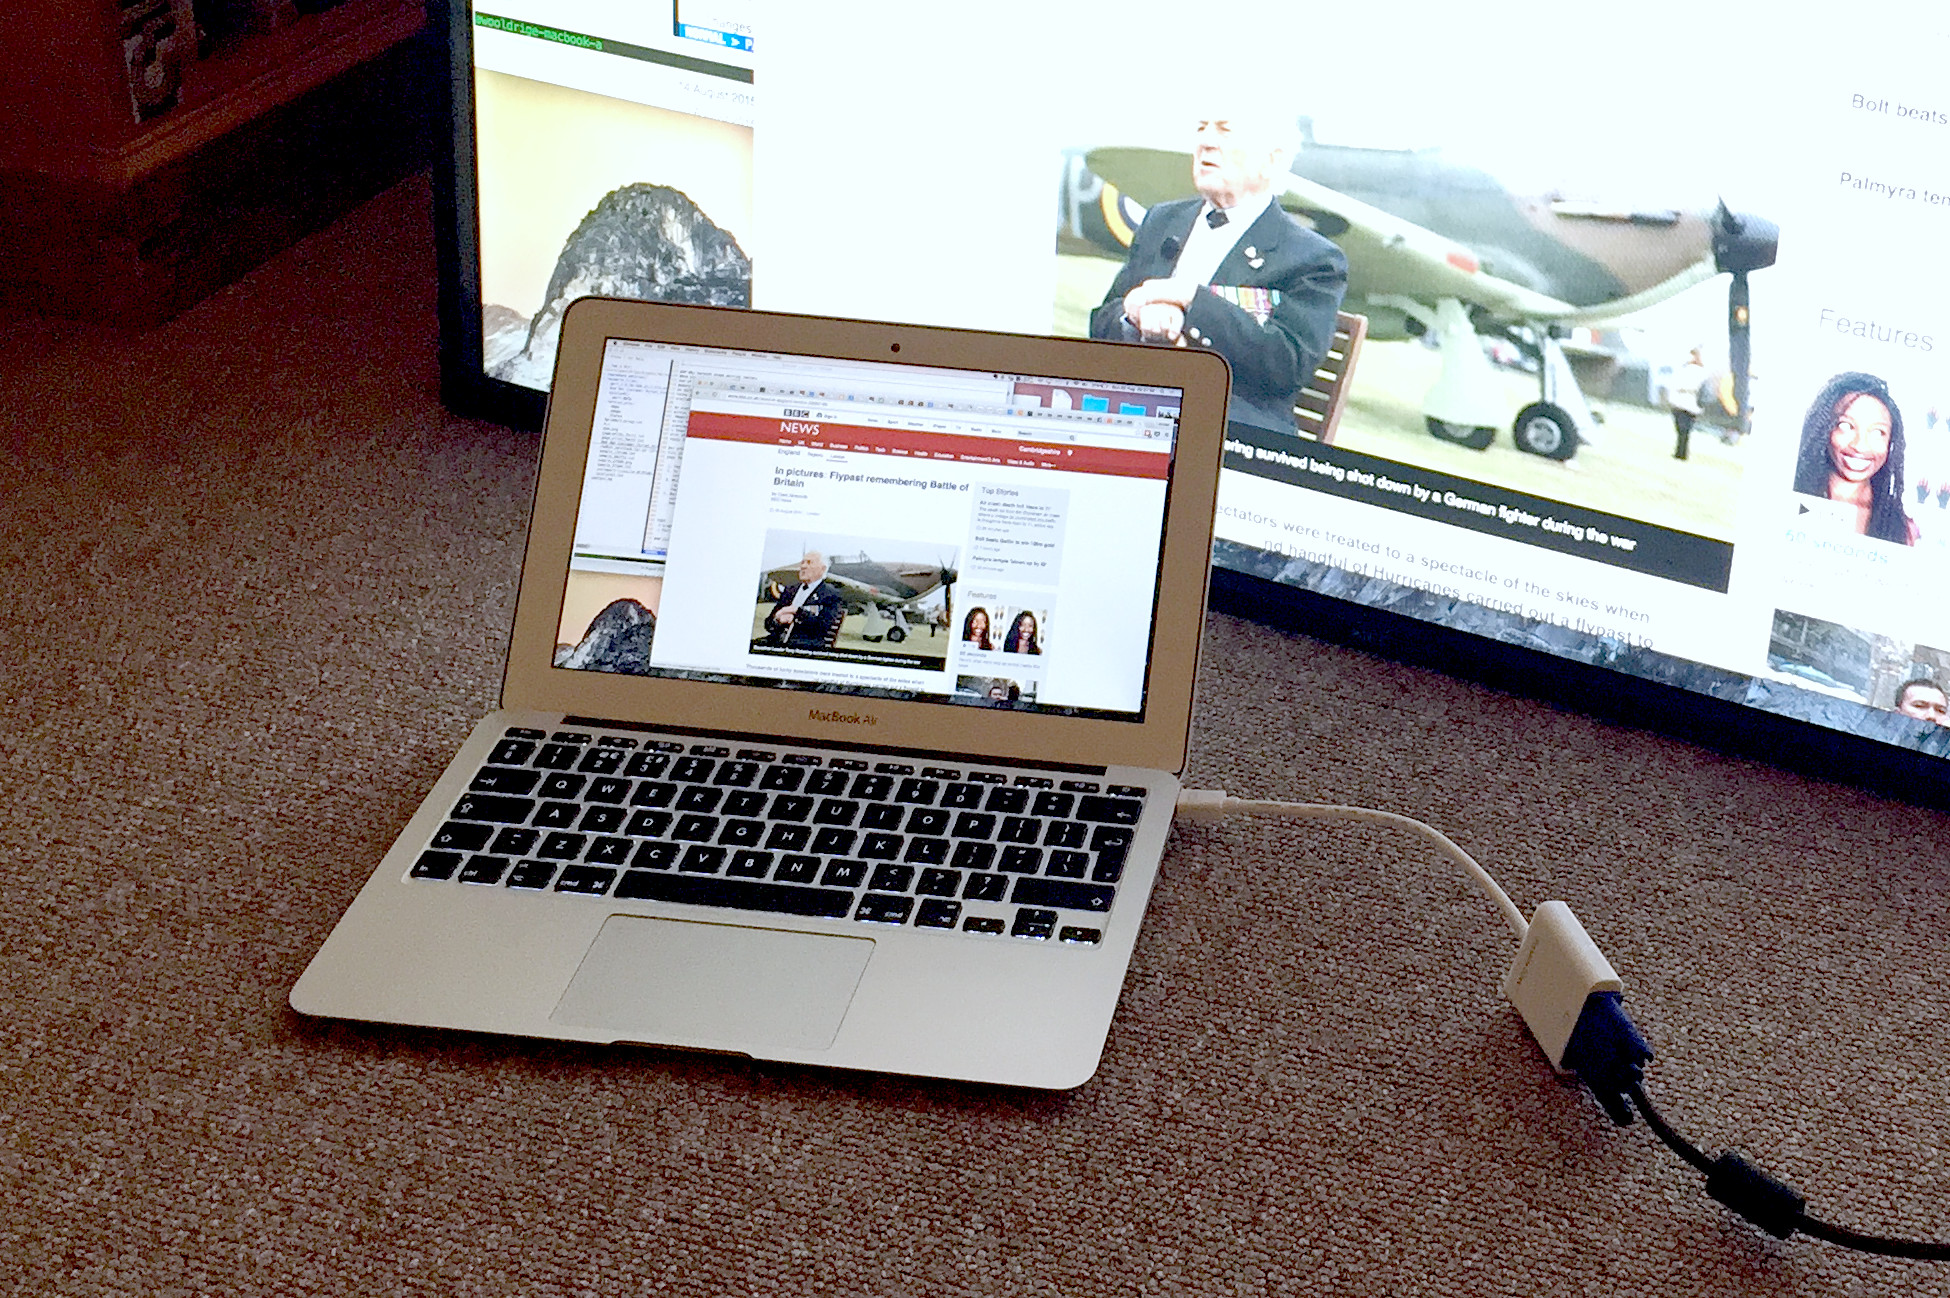
This is the MacBook Air, bought in 2014 and specced up with maximum RAM and the fastest CPU (see FAQ at end for details). I’d expected to eek many years out of it; little did I know it would soon be entering a sauna of silicon destruction.
It was time to pack up the MacBook after a loyal day of service. When returning the laptop to its soft case, I misjudged the approach and my trusty machine dropped 30 cm or so to the floor, landing on its corner. I thought nothing of this originally; it wasn’t first time the MacBook had been dropped and it usually coped perfectly fine. However, when opening the lid to check I hadn’t broken the screen, the tiny CPU fan screamed up to full speed, accompanied by a flash of the keyboard and screen backlight. Then all went black, the MacBook was limp and unresponsive.
Day 2: Administering first aid
Not a problem I thought, dropping it on the corner like that might have shaken a few bytes of SDRAM around, but nothing a power reset wouldn’t fix. However, whilst holding the power button down for increasingly desperate lengths of time, my optimism dropped until the point of acceptance that it just wasn’t going to switch on.
Following tech support guidance from the internet, all the following were given a shot:
- Performing multiple NVRAM/PRAM and SMC resets.
- Leaving the battery disconnected overnight.
- Disconnecting all components/connectors from the logic board, then reassembling.
- Bridging the logic board “power on pads”, optimistically hoping for a broken power button.
- Trying multiple power supplies.
- Applying a little percussive maintenance.
Nothing worked, the MacBook remained lifeless. It wouldn’t even take a charge, the light on the charger refused to illuminate at all.
Day 2: Bake day
The internet has happy tales of other owners reviving their dead MacBooks by gently baking them in the oven. I figured, if it’s good enough for those four people on the internet - it’s good enough for me. The idea is to heat the logic board just enough to reflow solder any broken connections.
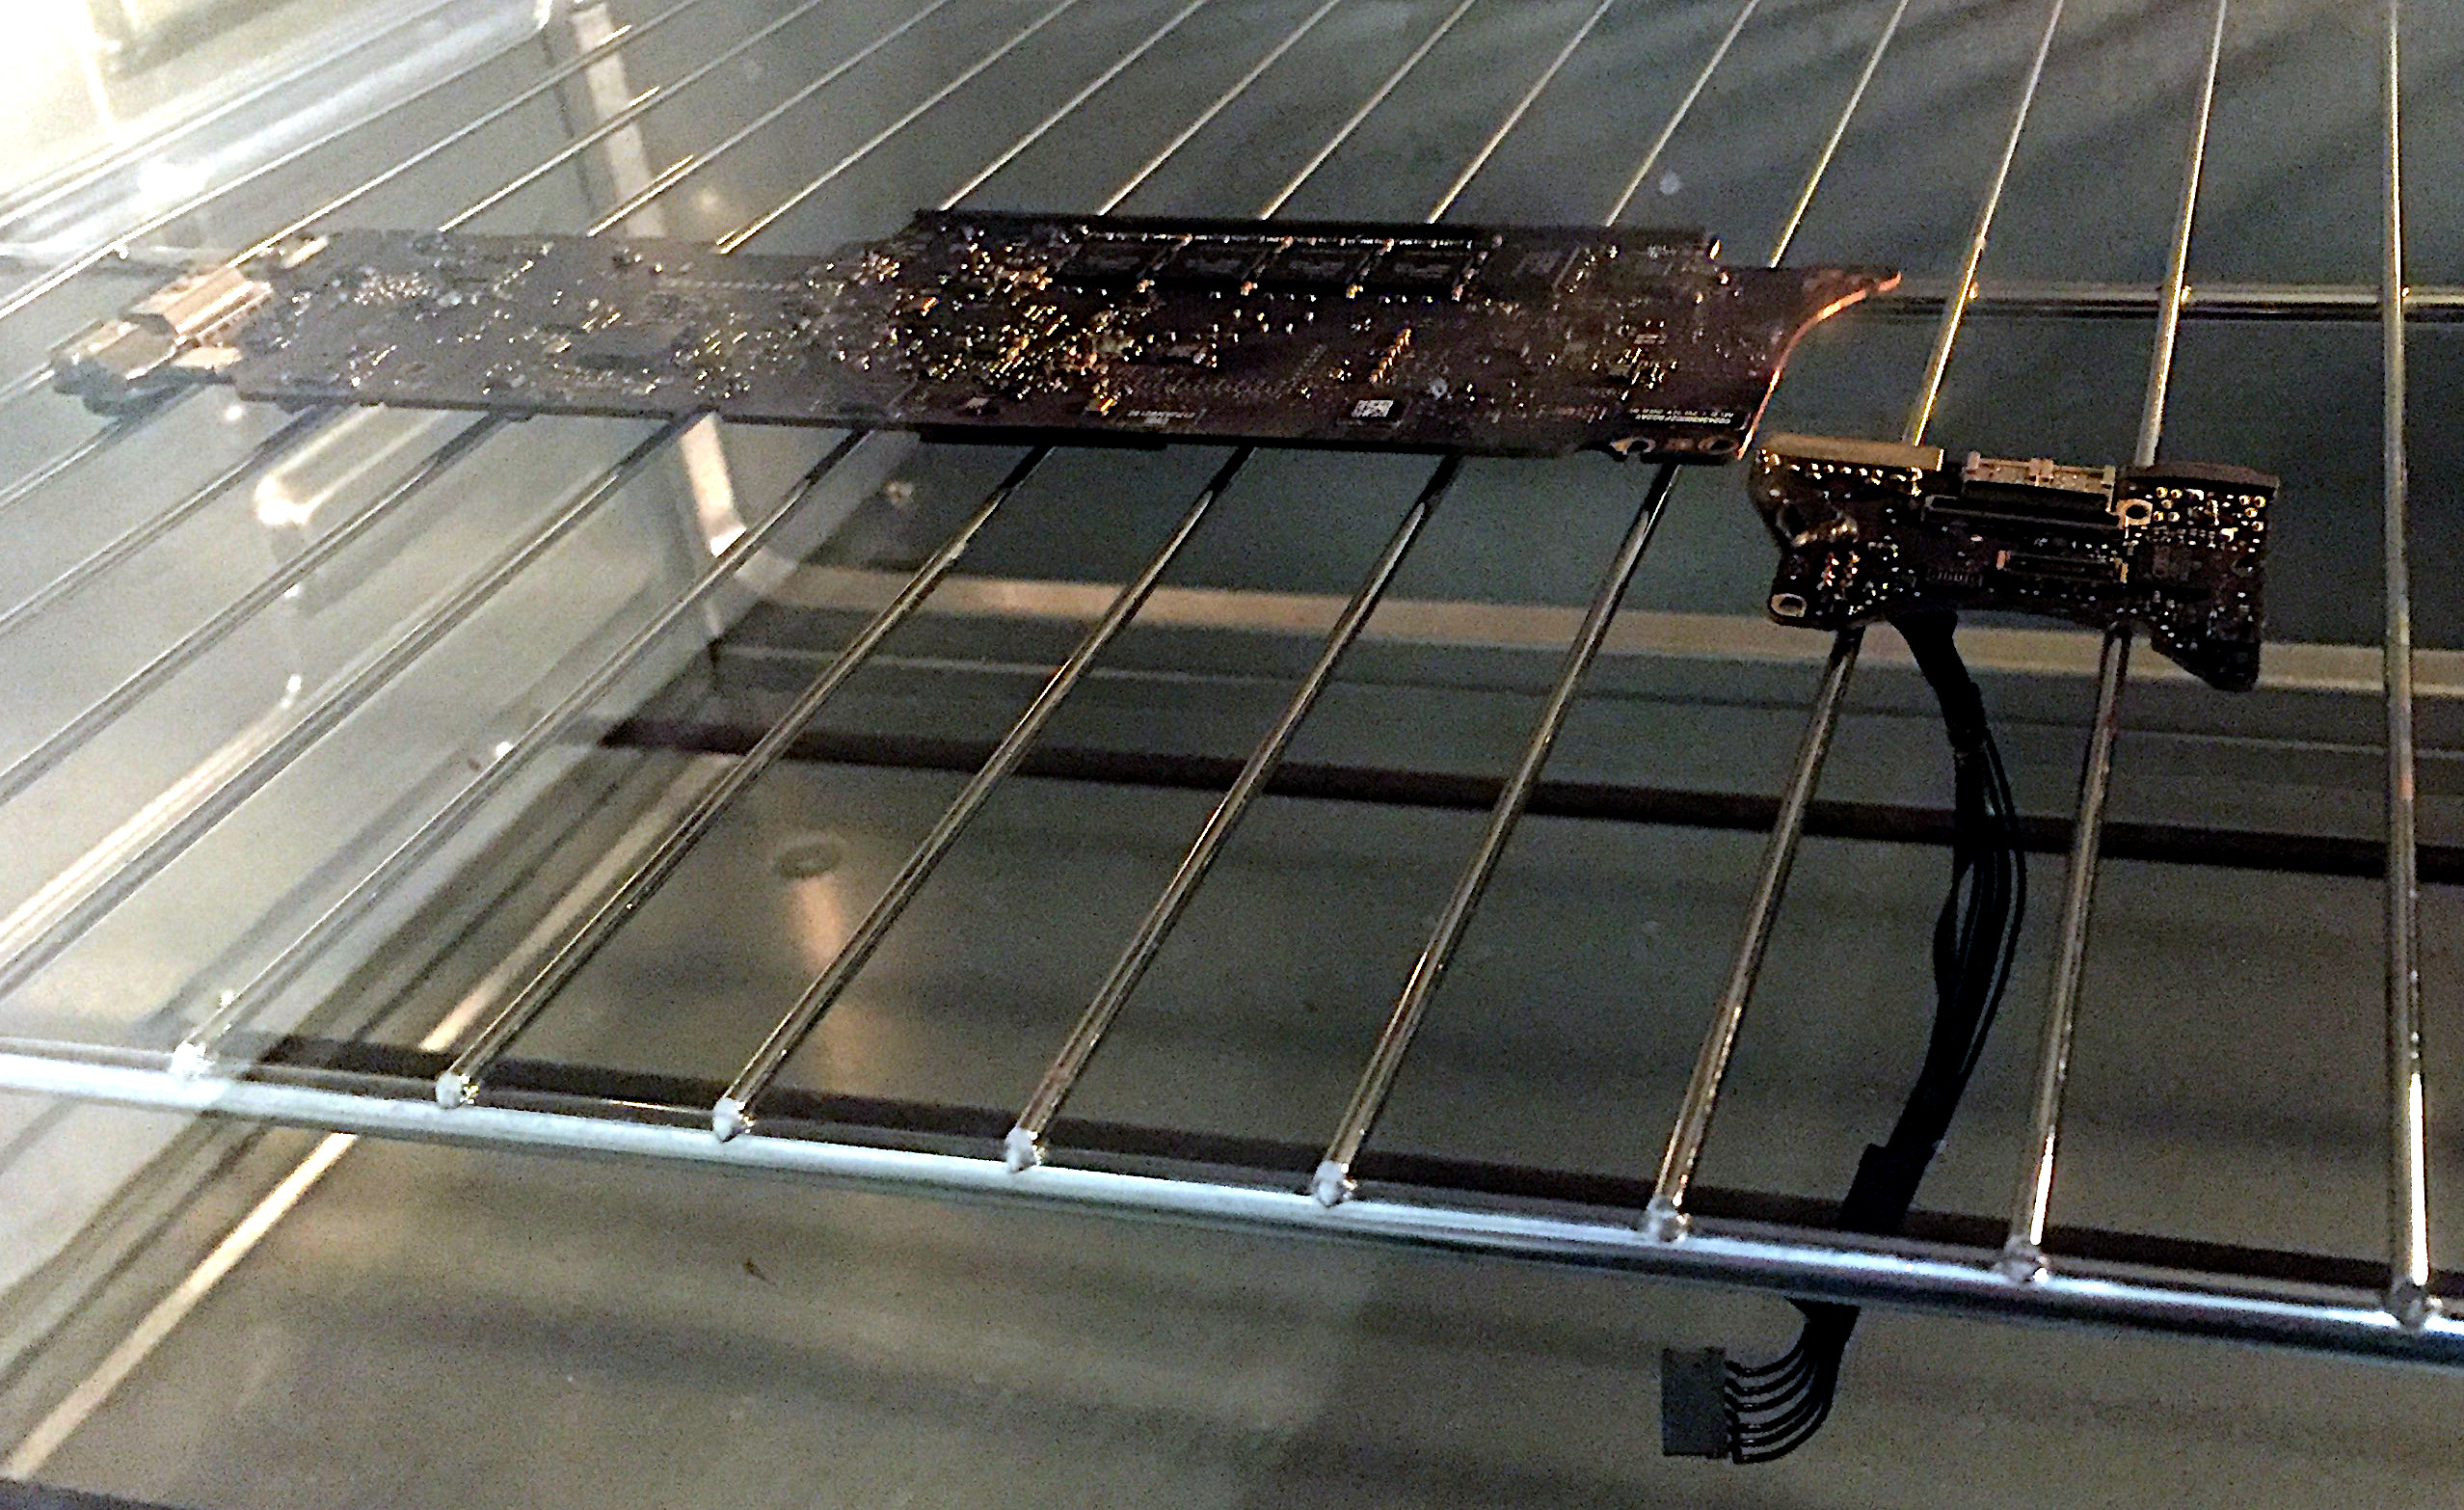
Only the logic board should go in the oven, so the first stage is to remove all components and connections from the board. Despite the MacBook Air’s tiny form factor, this was surprisingly simple, although it does require use of a pentalobe and Torx driver bit. The I/O board was also removed from the chassis, as my suspicion was that the offending component would likely by located on that board - plus it would give the logic board a companion during the bake-off.
Recipes suggest baking at 170 °C for 7 minutes. The instructions are not specific about whether this is for fan ovens, whether preheating is required or whether an egg-wash should be applied beforehand. In my mind, thermal shock is also a greater concern when baking a motherboard compared to a Victoria sponge, so I opted to bake from cold. Weighing up the consequences of covering our main oven in molten MacBook, I also chose to use our standalone oven (purchased solely for extra Christmas dinner capacity) instead of our kitchen oven. There’s also the matter of fire safety, which I mitigated by placing the standalone oven within booting distance of the outside door.
Arranging the logic and I/O boards on the middle oven rack, I cranked up the dial to 170 °C and nervously waited for the oven to reach temperature. Unsurprisingly, gently baked MacBook doesn’t smell particularly delicious, but thankfully I’d prepared for this in advance by placing the oven in an isolated room with a door to the outside kept wide open. Six minutes into the bake, everything was still looking cushty. A few small wires had started going a bit gooey, but I was positive that the boards would survive.
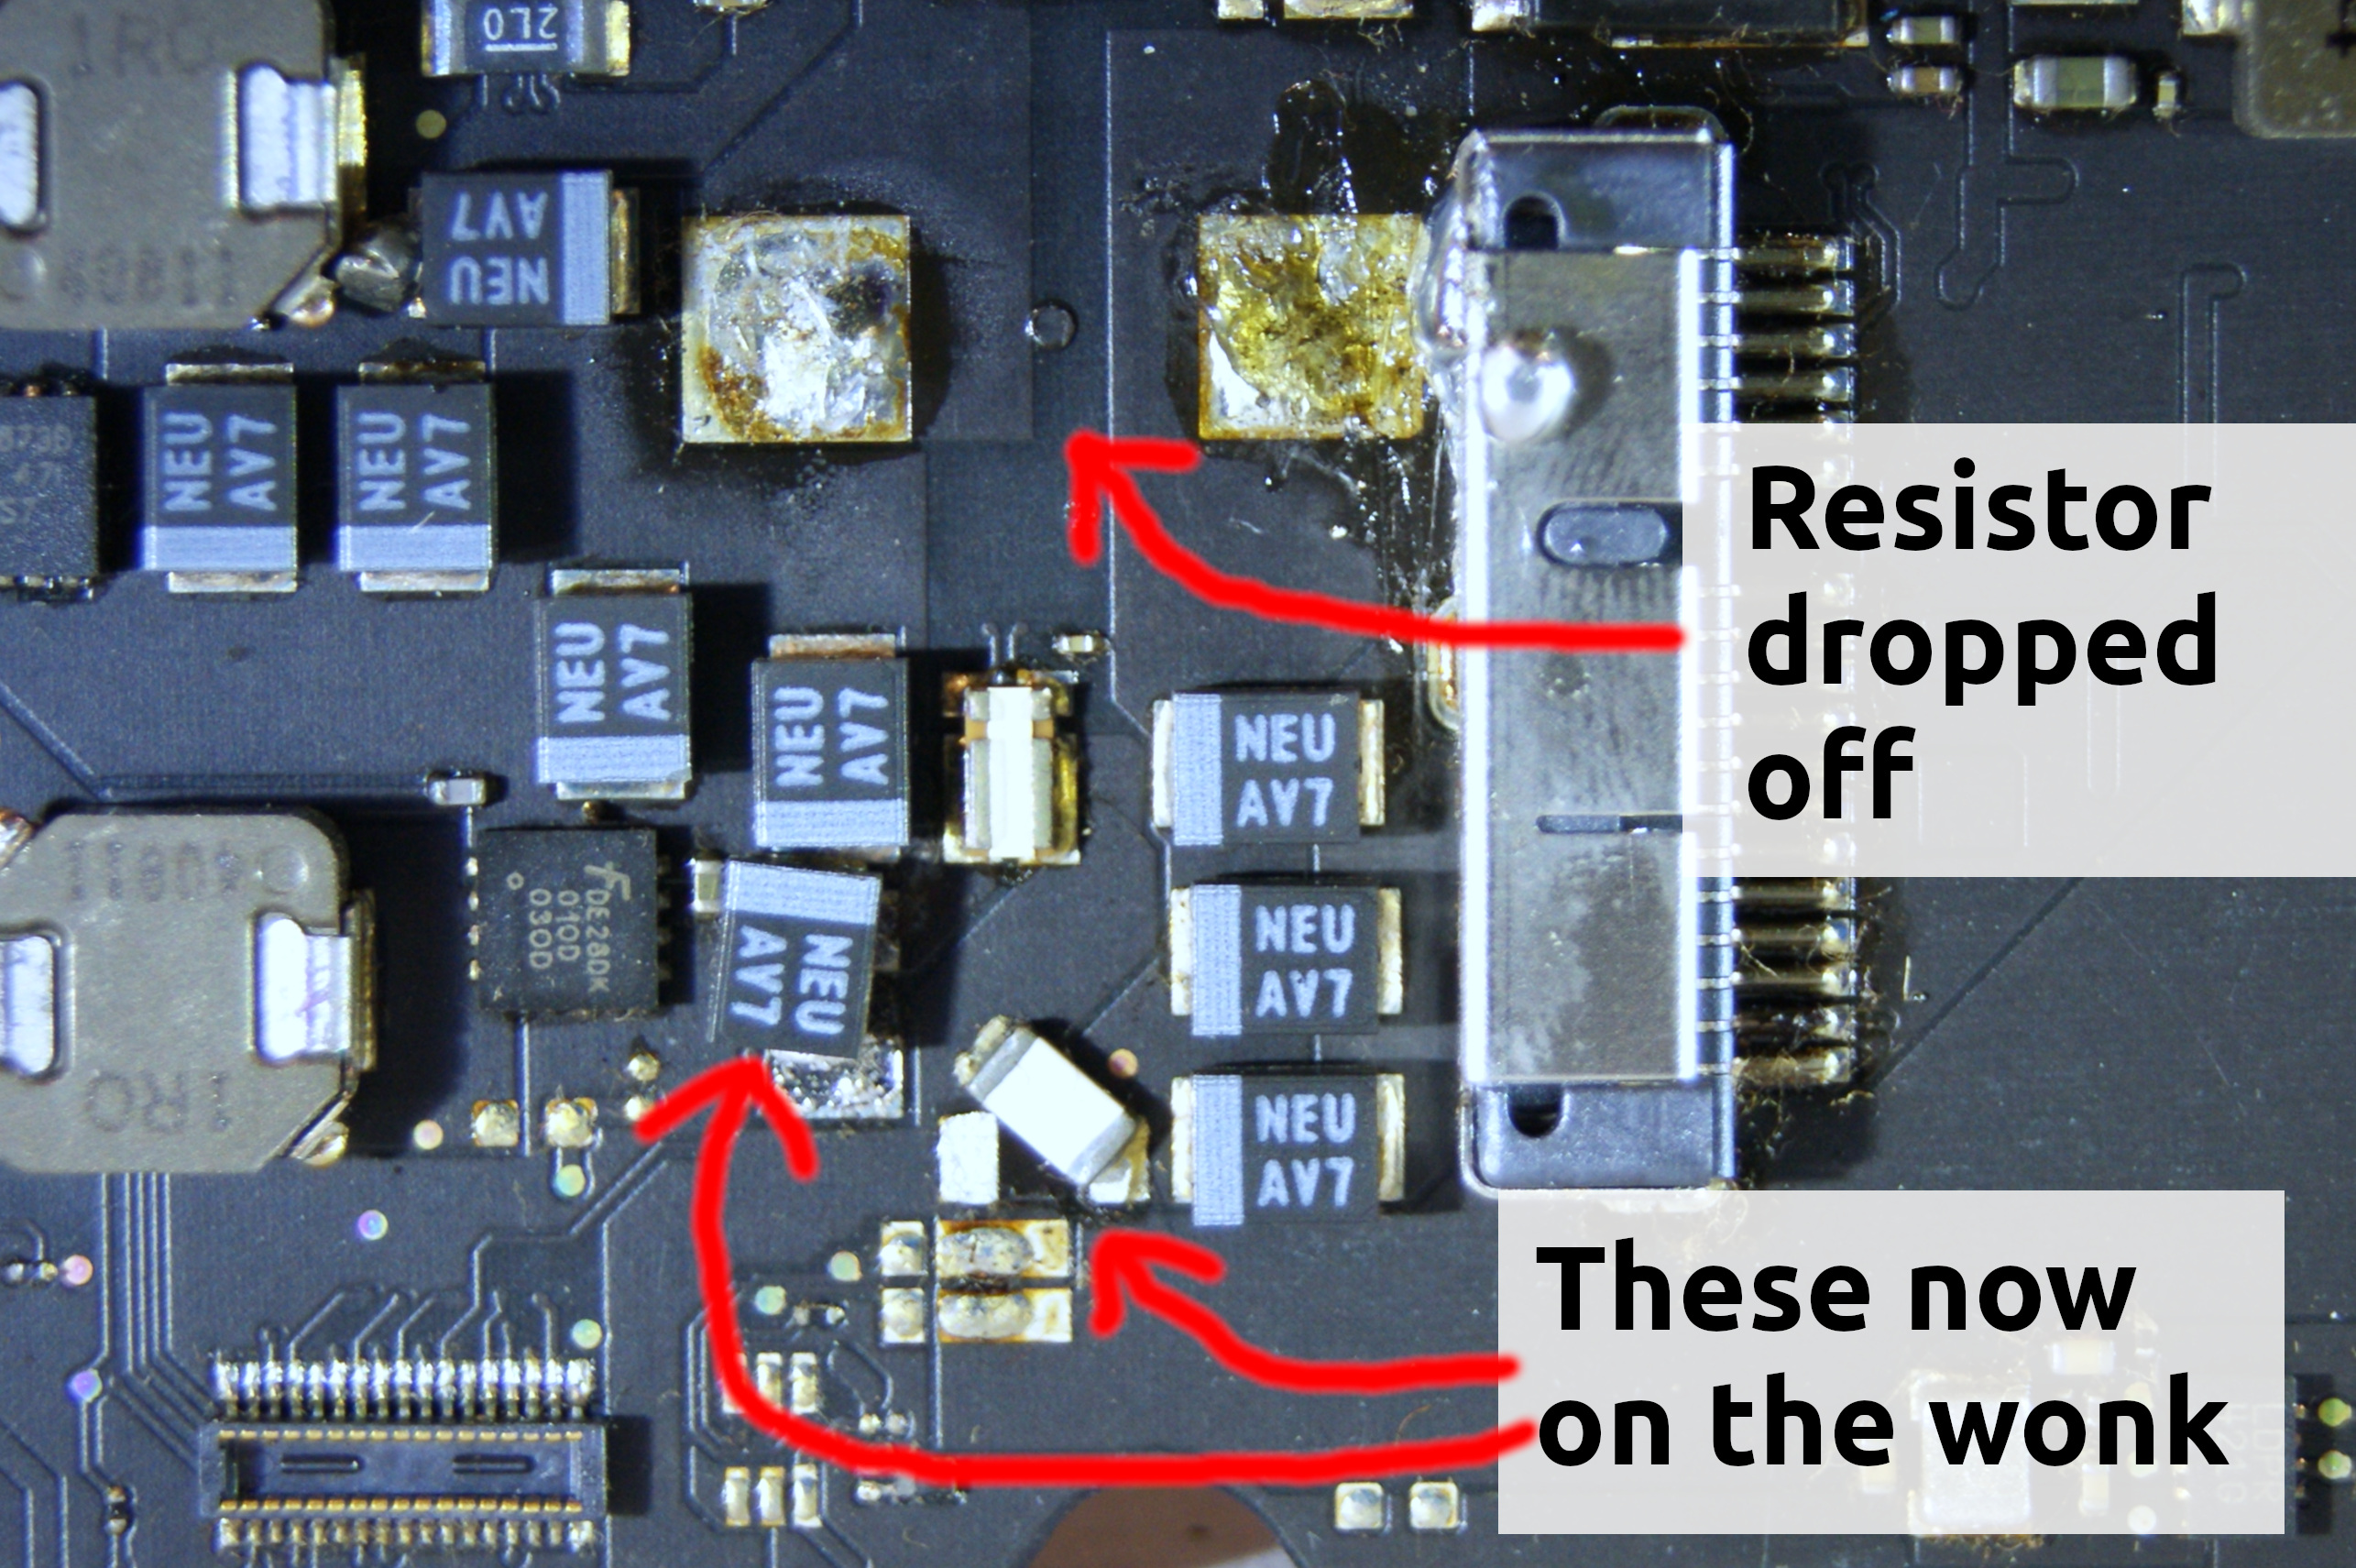
With confidence high and the bake nearly finished, for the final 60 seconds I thought I’d go off-piste and crank up the temperature to 180 °C - I wanted to make sure things were cooked through. Curiously peering through the oven window, all hell broke loose within 30 seconds: The room filled with sounds of popcorn being made as resistors and components desoldered themselves from the logic board and dropped onto the oven floor. The previously clear air was replaced with an acrid haze. Then the bake reached it’s finale as the logic board bowed up in the middle, accompanied by the screeching sound of the CPU being wrenched off its socket. I lunged for the power switch and yanked open the oven door, hoping to limit damage. Then, as quickly as the bowing started, everything calmed down and the board returned to its original shape. With the board still hot, a wooden spoon was employed to desperately poke the CPU back onto its mount - with little success.
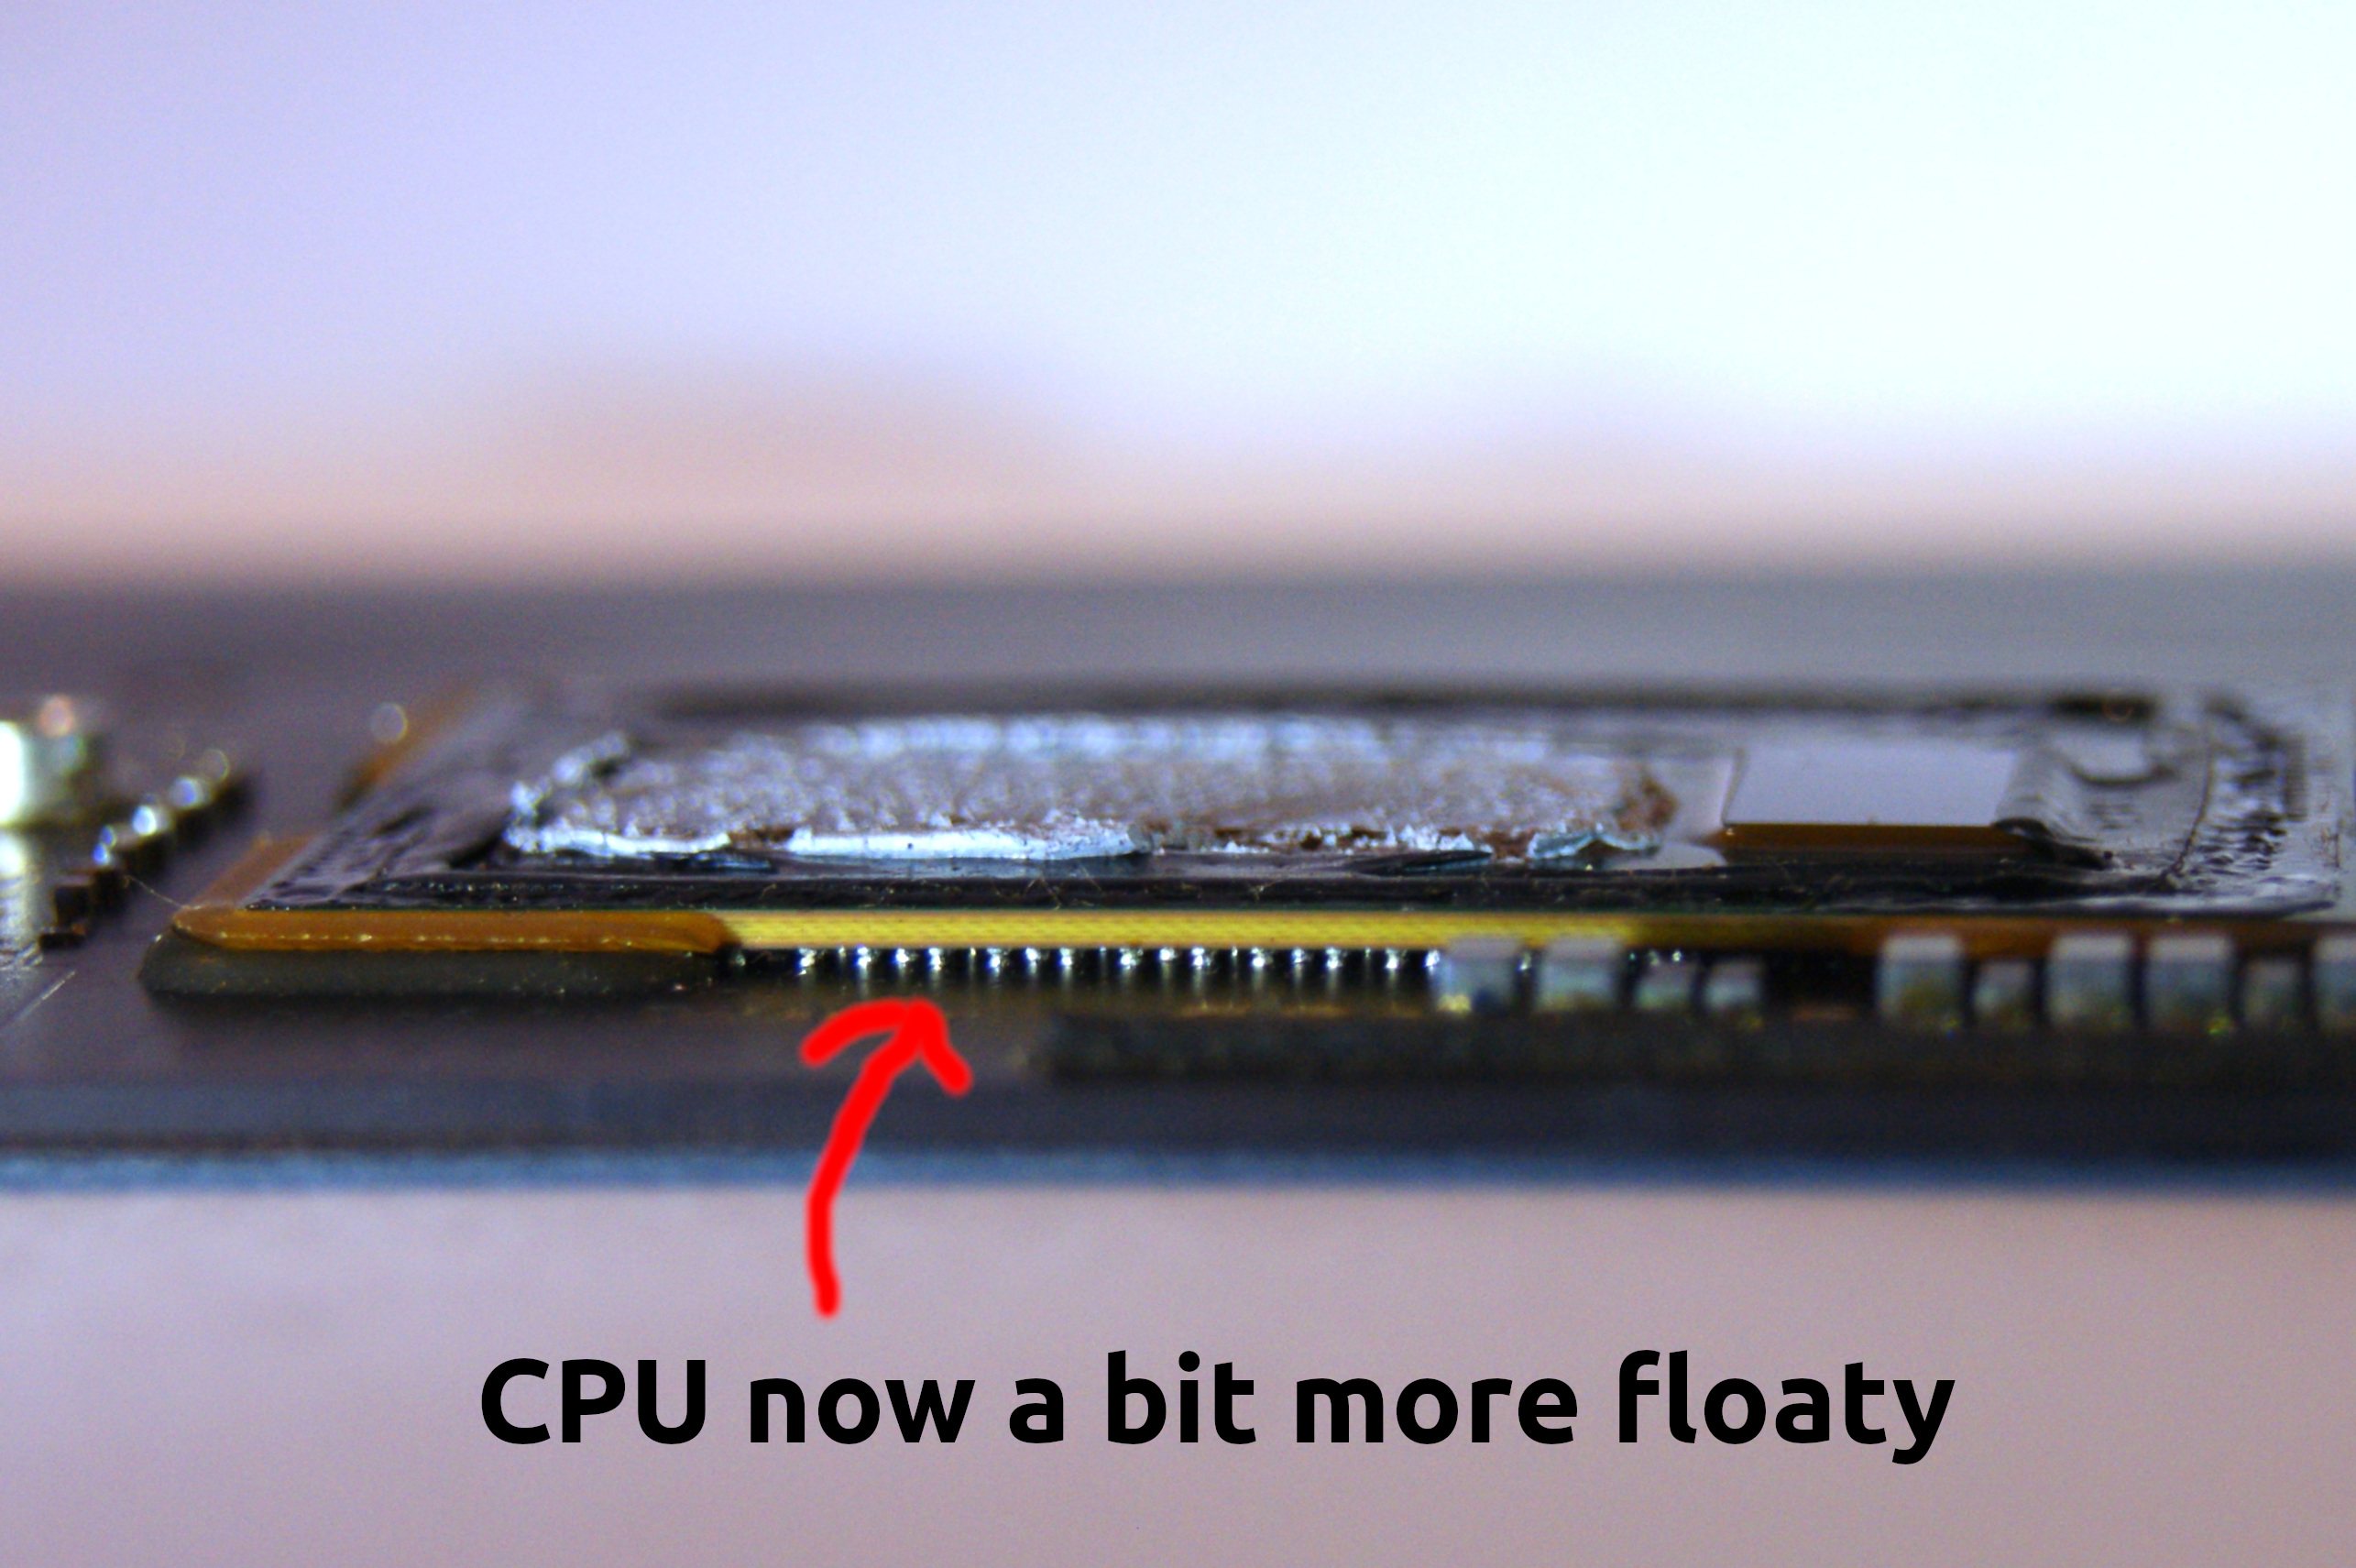
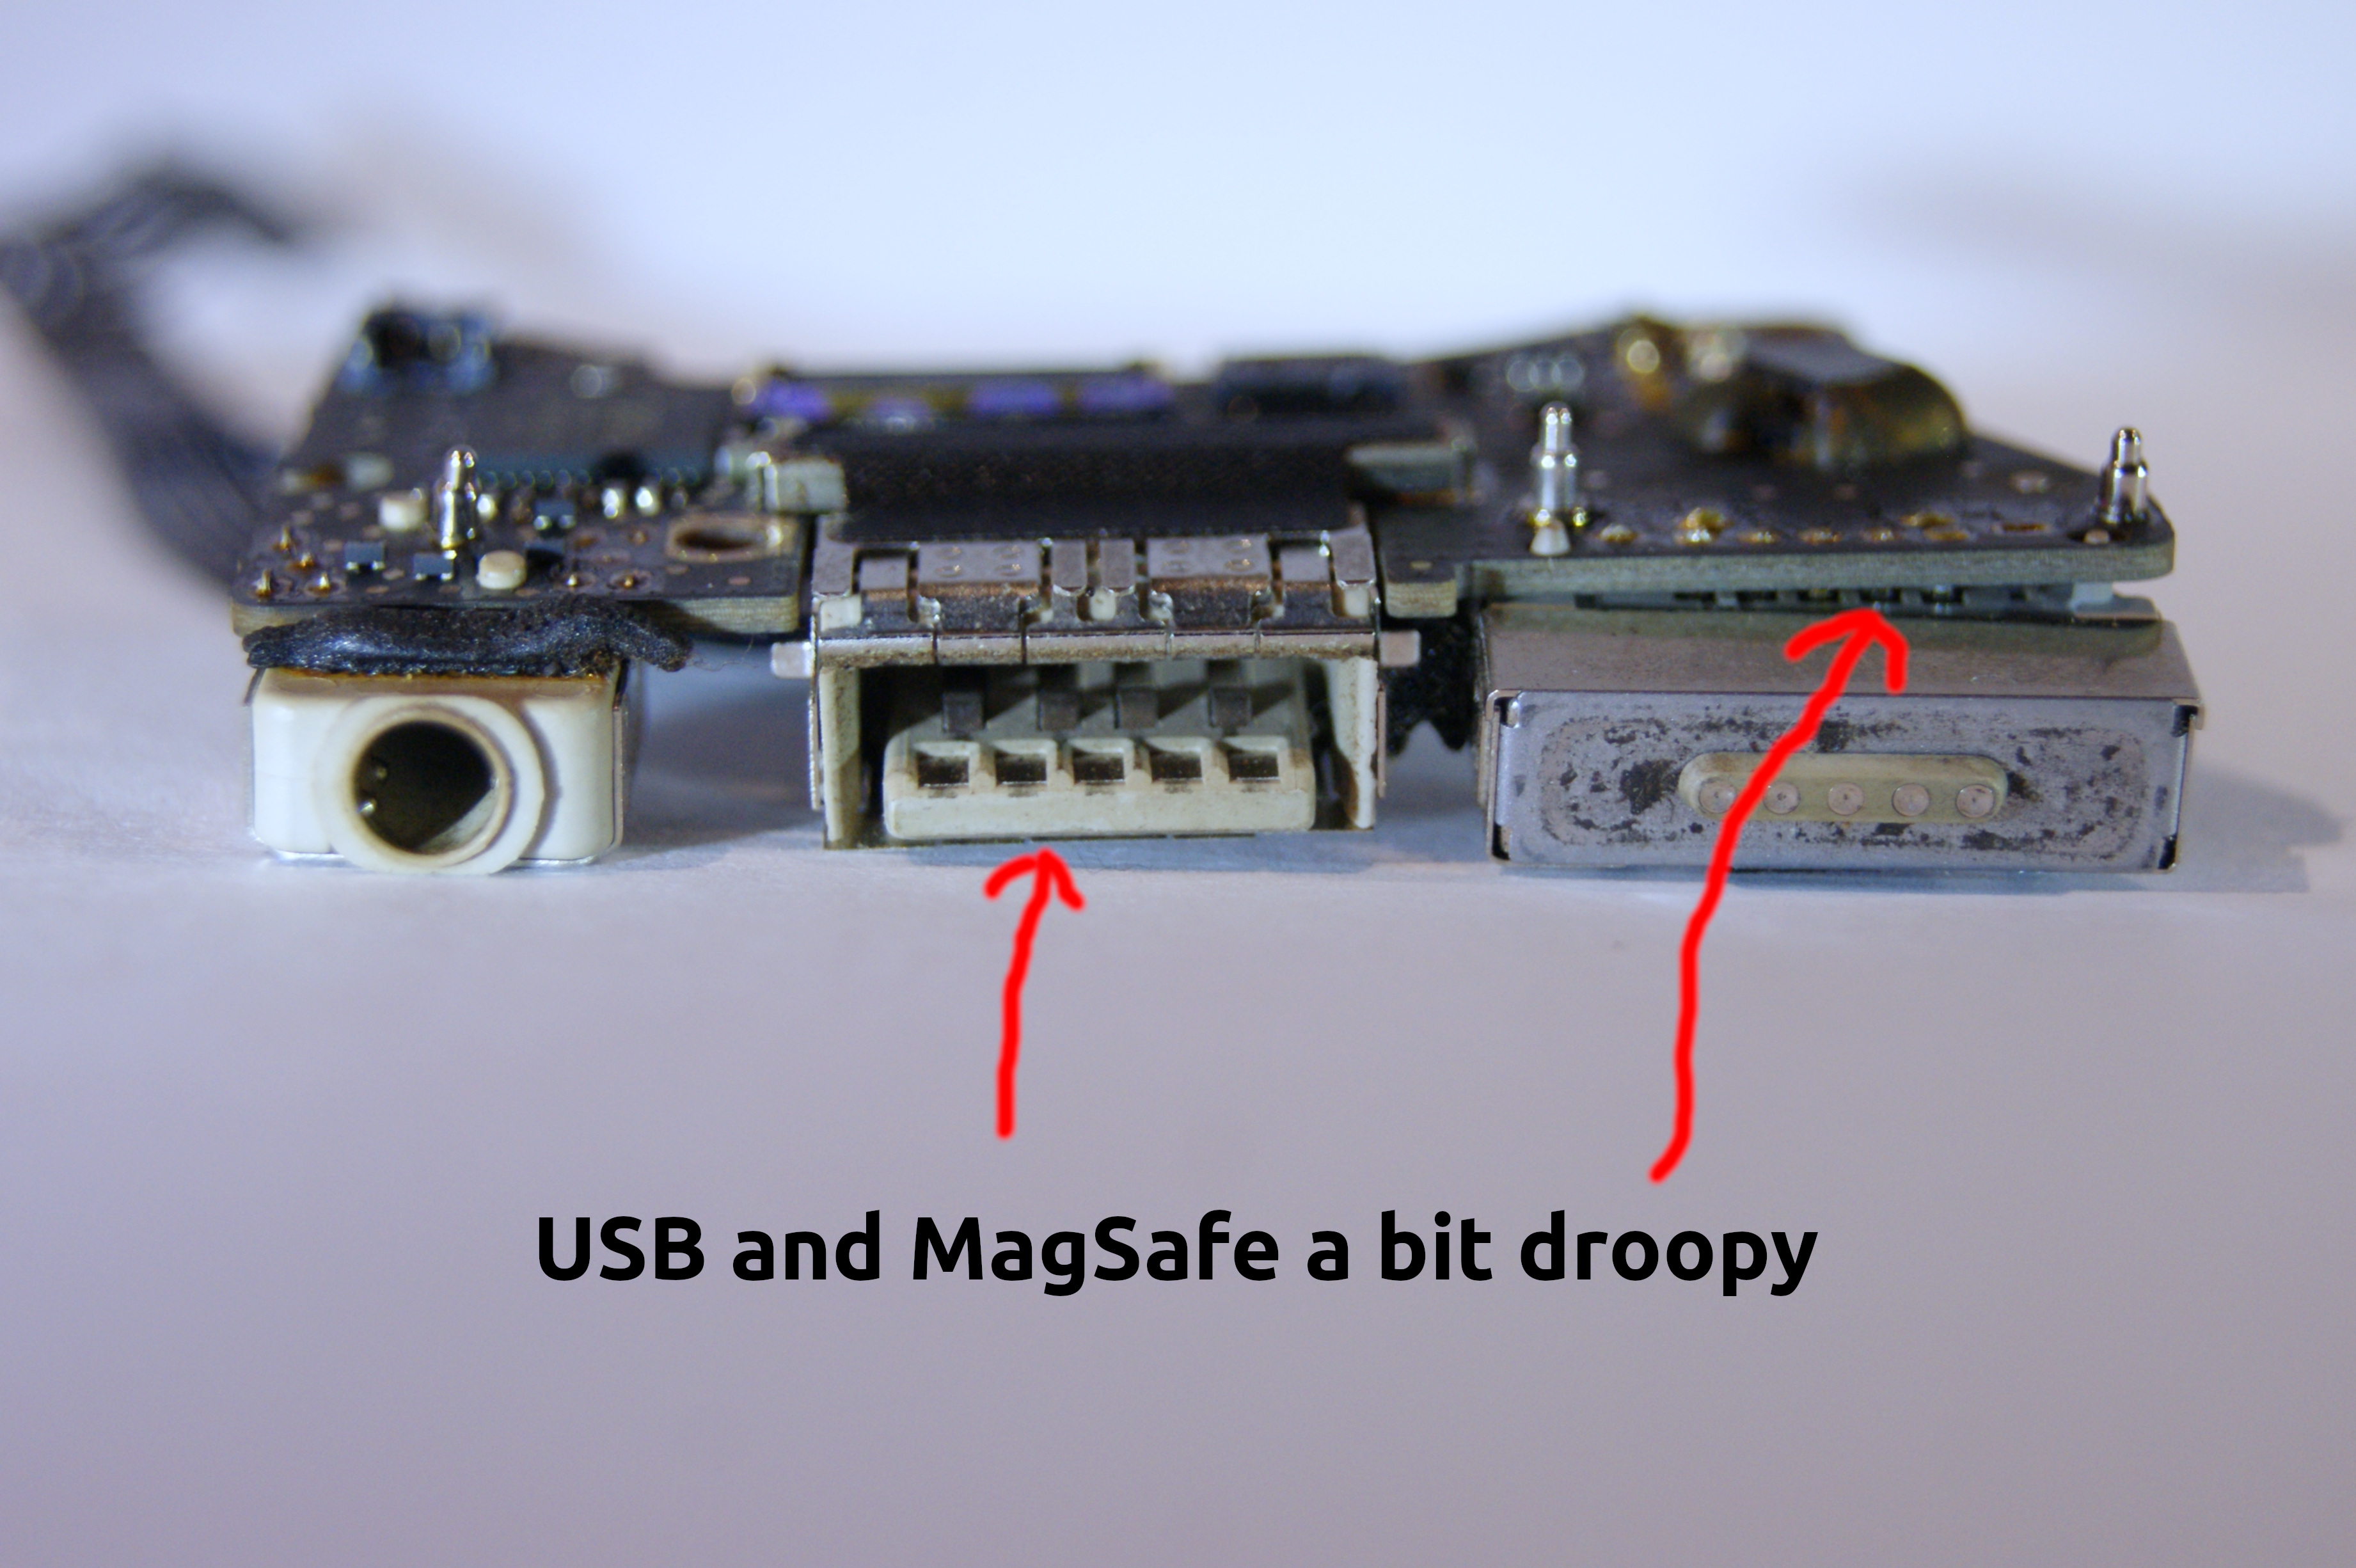
With the acrid air clearing and the oven gently ticking as it cooled, I began re-assessing the decision to place a £1,000 MacBook in the oven. Hoping to salvage some functionality, I heated a soldering iron and spent 30 minutes with a tweezer, unsuccessfully trying to solder the miniature components back onto the logic board. After the third ‘ouch’, I called time; there was no hope left.
Questions?
Why not go to the genius bar?
Even before I stuck the MacBook in the oven, it was already out of warranty. I know other owners that have paid many hundreds to have Apple replace the logic board. In my case I couldn’t even be sure that the logic board was the only broken component so didn’t want to start that cash sink.
Although I am tempted to take it to the genius bar now, just for entertainment.
What MacBook Air model was this?
Purchased in September 2014 with:
- 1.7 GHz Dual-Core Intel Core i7, Turbo Boost up to 3.3 GHz.
- 8 GiB 1600 MHz LPDDR3 SDRAM.
- 128 GB PCIe-based Flash Storage.
Why not use a thermometer?
Pure laziness. I own numerous digital oven thermometers and infrared thermometers that would have been up to the job. The entire bake was performed in a rushed 60 minutes after work one weekday. In hindsight, if I’d have spent half as much time as I spent preparing this article on proper temperature control, I probably wouldn’t be sitting here with a bunch of useless spare parts.
Have you replaced it with another MacBook?
Not yet - I purchased a cheap tower PC instead. It had been over 10 years since I moved to laptops only and I wanted to see what had changed since. Turns out a lot has changed and this new machine has quickly become one of my favourites! Specs:
- AMD Ryzen 3 2200G CPU (/APU) with Radeon Vega 8 Graphics - considering the cost is exceptionally low, the performance of this unit really impresses.
- 8 GiB DDR4 RAM - already nudging up on this limit regularly, so will likely upgrade to 16 GiB.
- 120 GB SSD - used for boot and root filesystem, encrypted with LUKS.
- 1 TB spinning rust HDD - used for bulk files, encrypted with LUKS.
- Standard Ubuntu (not very exciting I know). In the beginning, kernel support for this line of APU was poor, there was a seemingly 50/50 chance that it would boot successfully and it would often lockup randomly. However, since 4.18.0 everything seem to work well!
While on the road (well, train) I now sport a bright purple HP Stream 11-r001na, which my colleagues have branded the “Fisher-Price” laptop. Trying to get Ubuntu 18.10/GNOME 3.30 working within it’s 2 GiB RAM (whilst leaving room for anything else) was too much of a challenge, so I’ve switched to Lubuntu and LXDE/LXQT, which has made this mini-machine just about usable. The specs, for entertainment:
- Intel Celeron N3050 1.6 GHz
- 2 GiB DDR3L SDRAM
- 32 GB eMMC
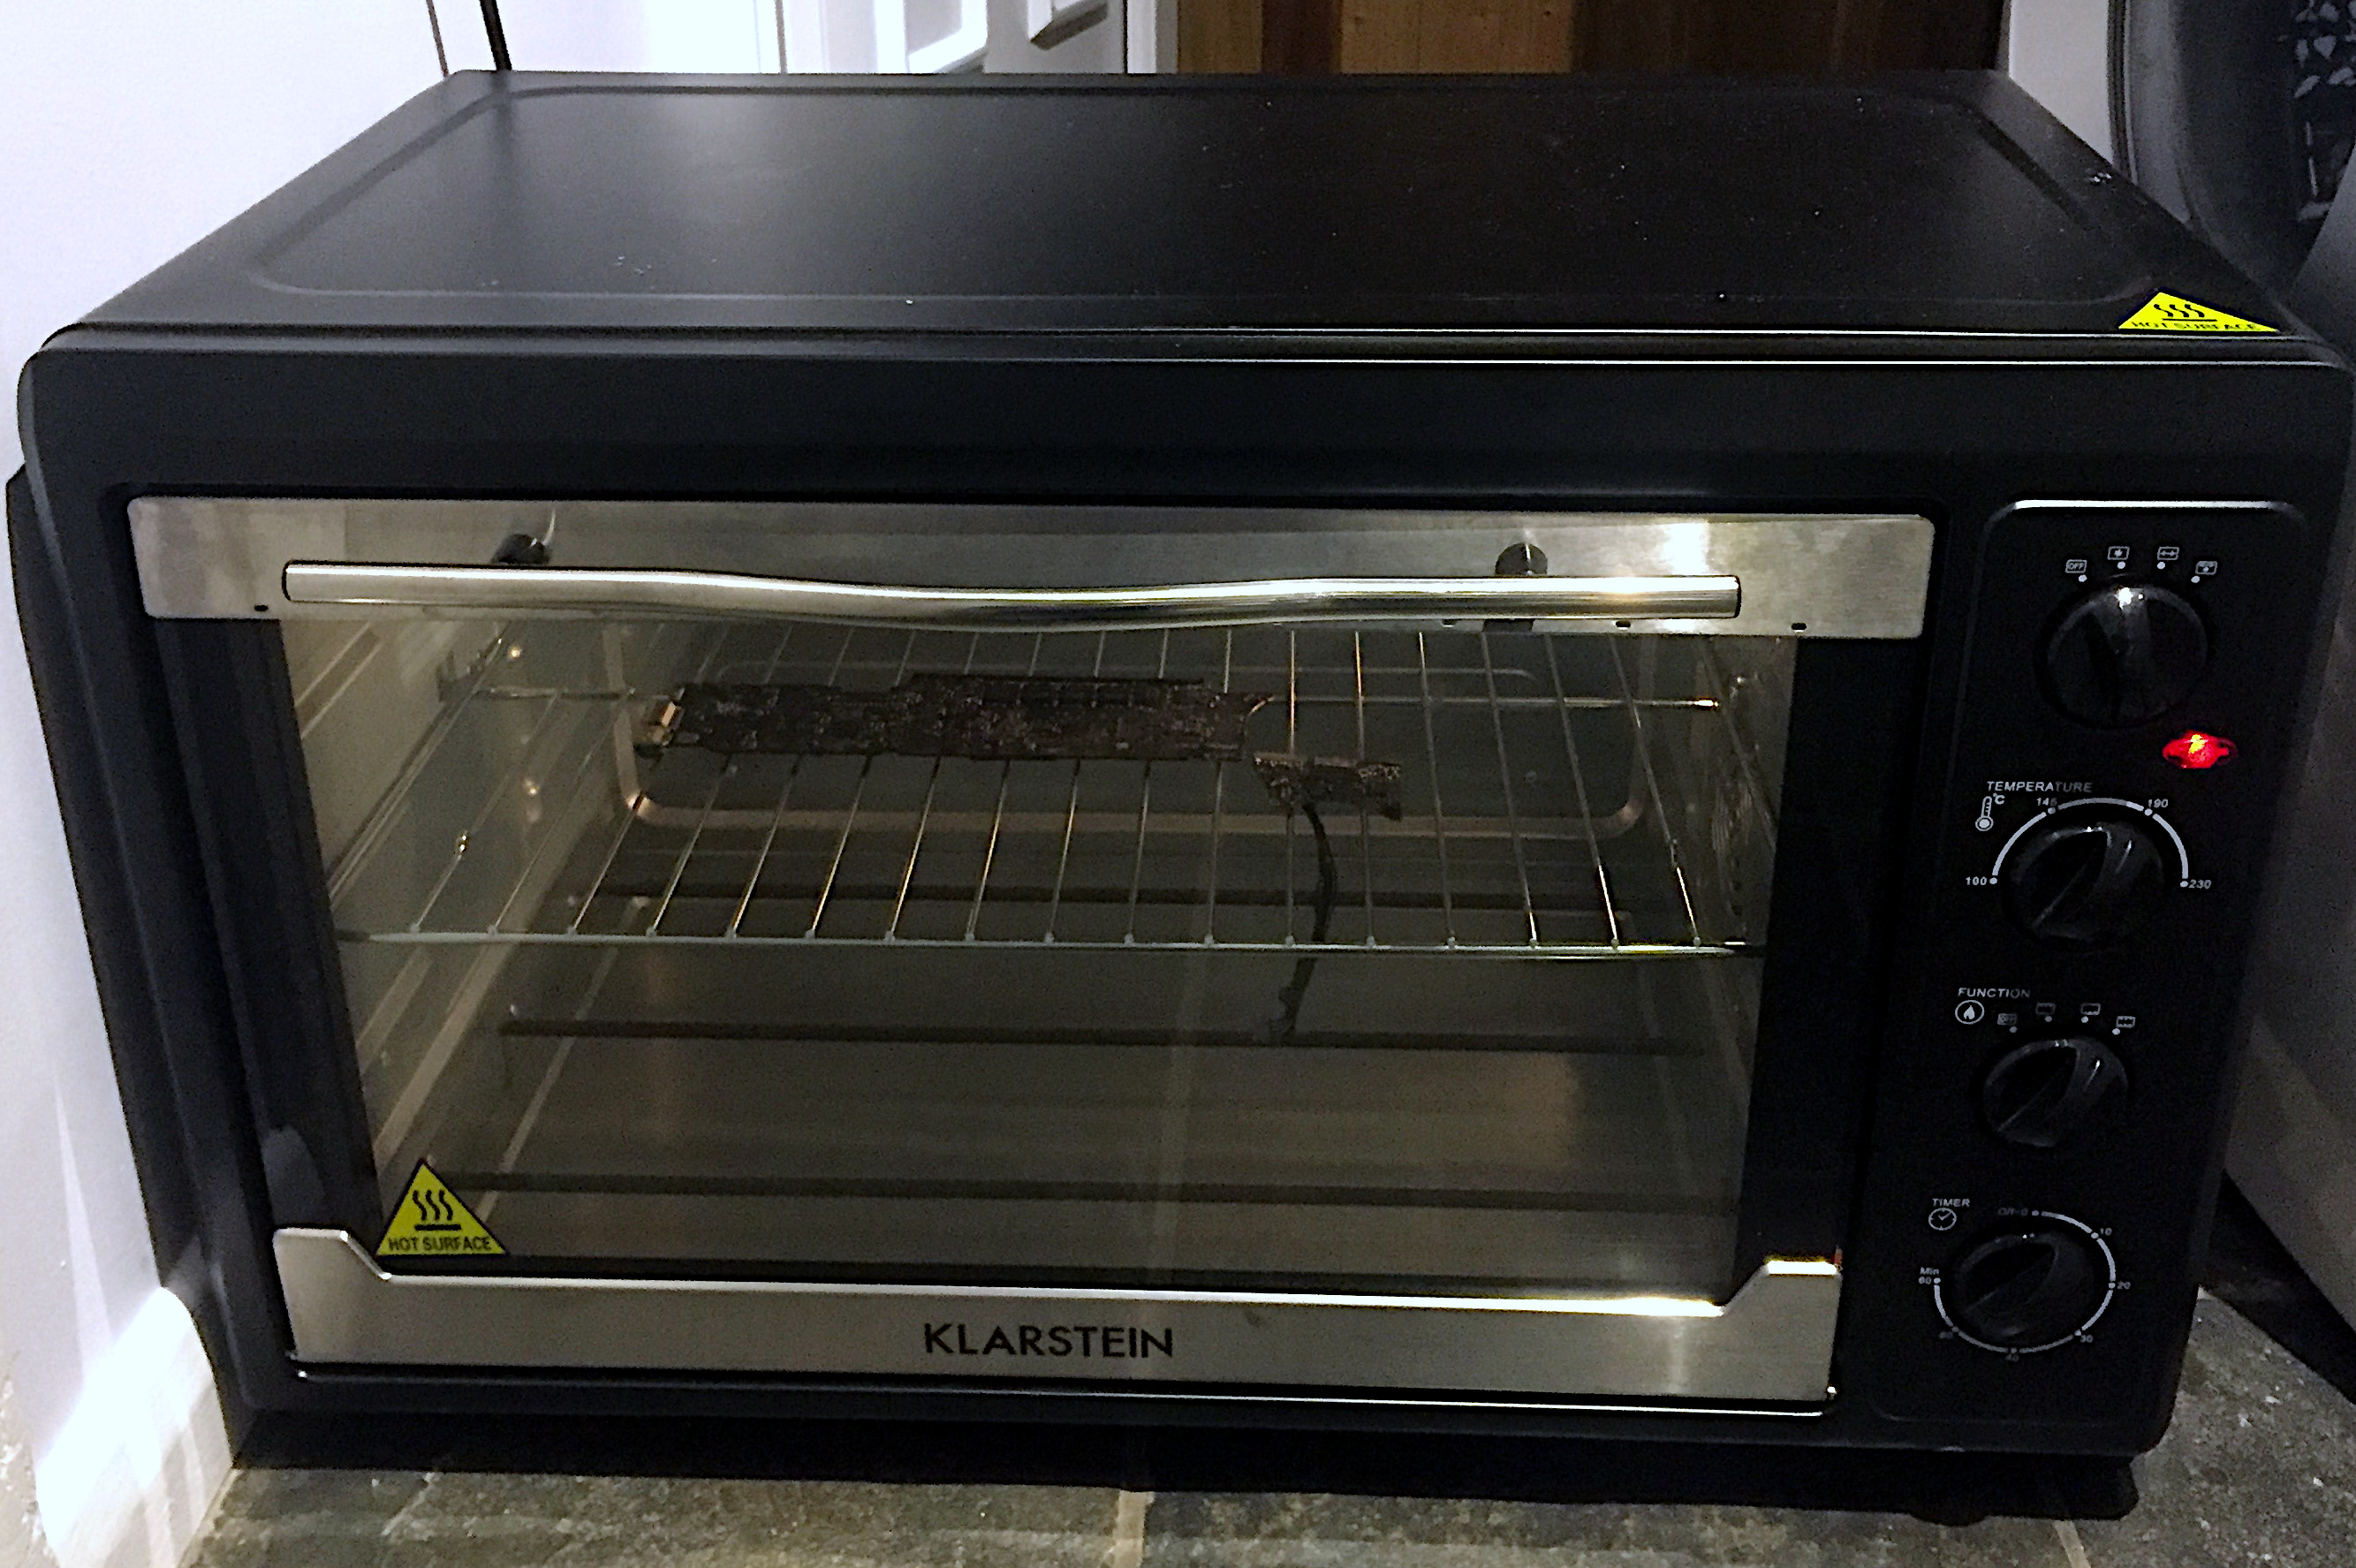
What on earth is that oven?
It’s a Klarstein MasterChef 60 Mini Oven (not that 60 L is very mini), which as mentioned above is owned solely for extra Christmas dinner capacity. It does have a small convection fan, but the heat sources are from four unshielded elements: two at the top and two at the bottom. Not the most ideal oven for even heat distribution, but certainly a safer choice than using a built in kitchen oven as it allowed the acrid fumes to be kept outside. It was also a safer choice for myself, as a I fear there would have been some disapproval if I’d have managed to fuse a circuit board to the inside of our kitchen oven.